
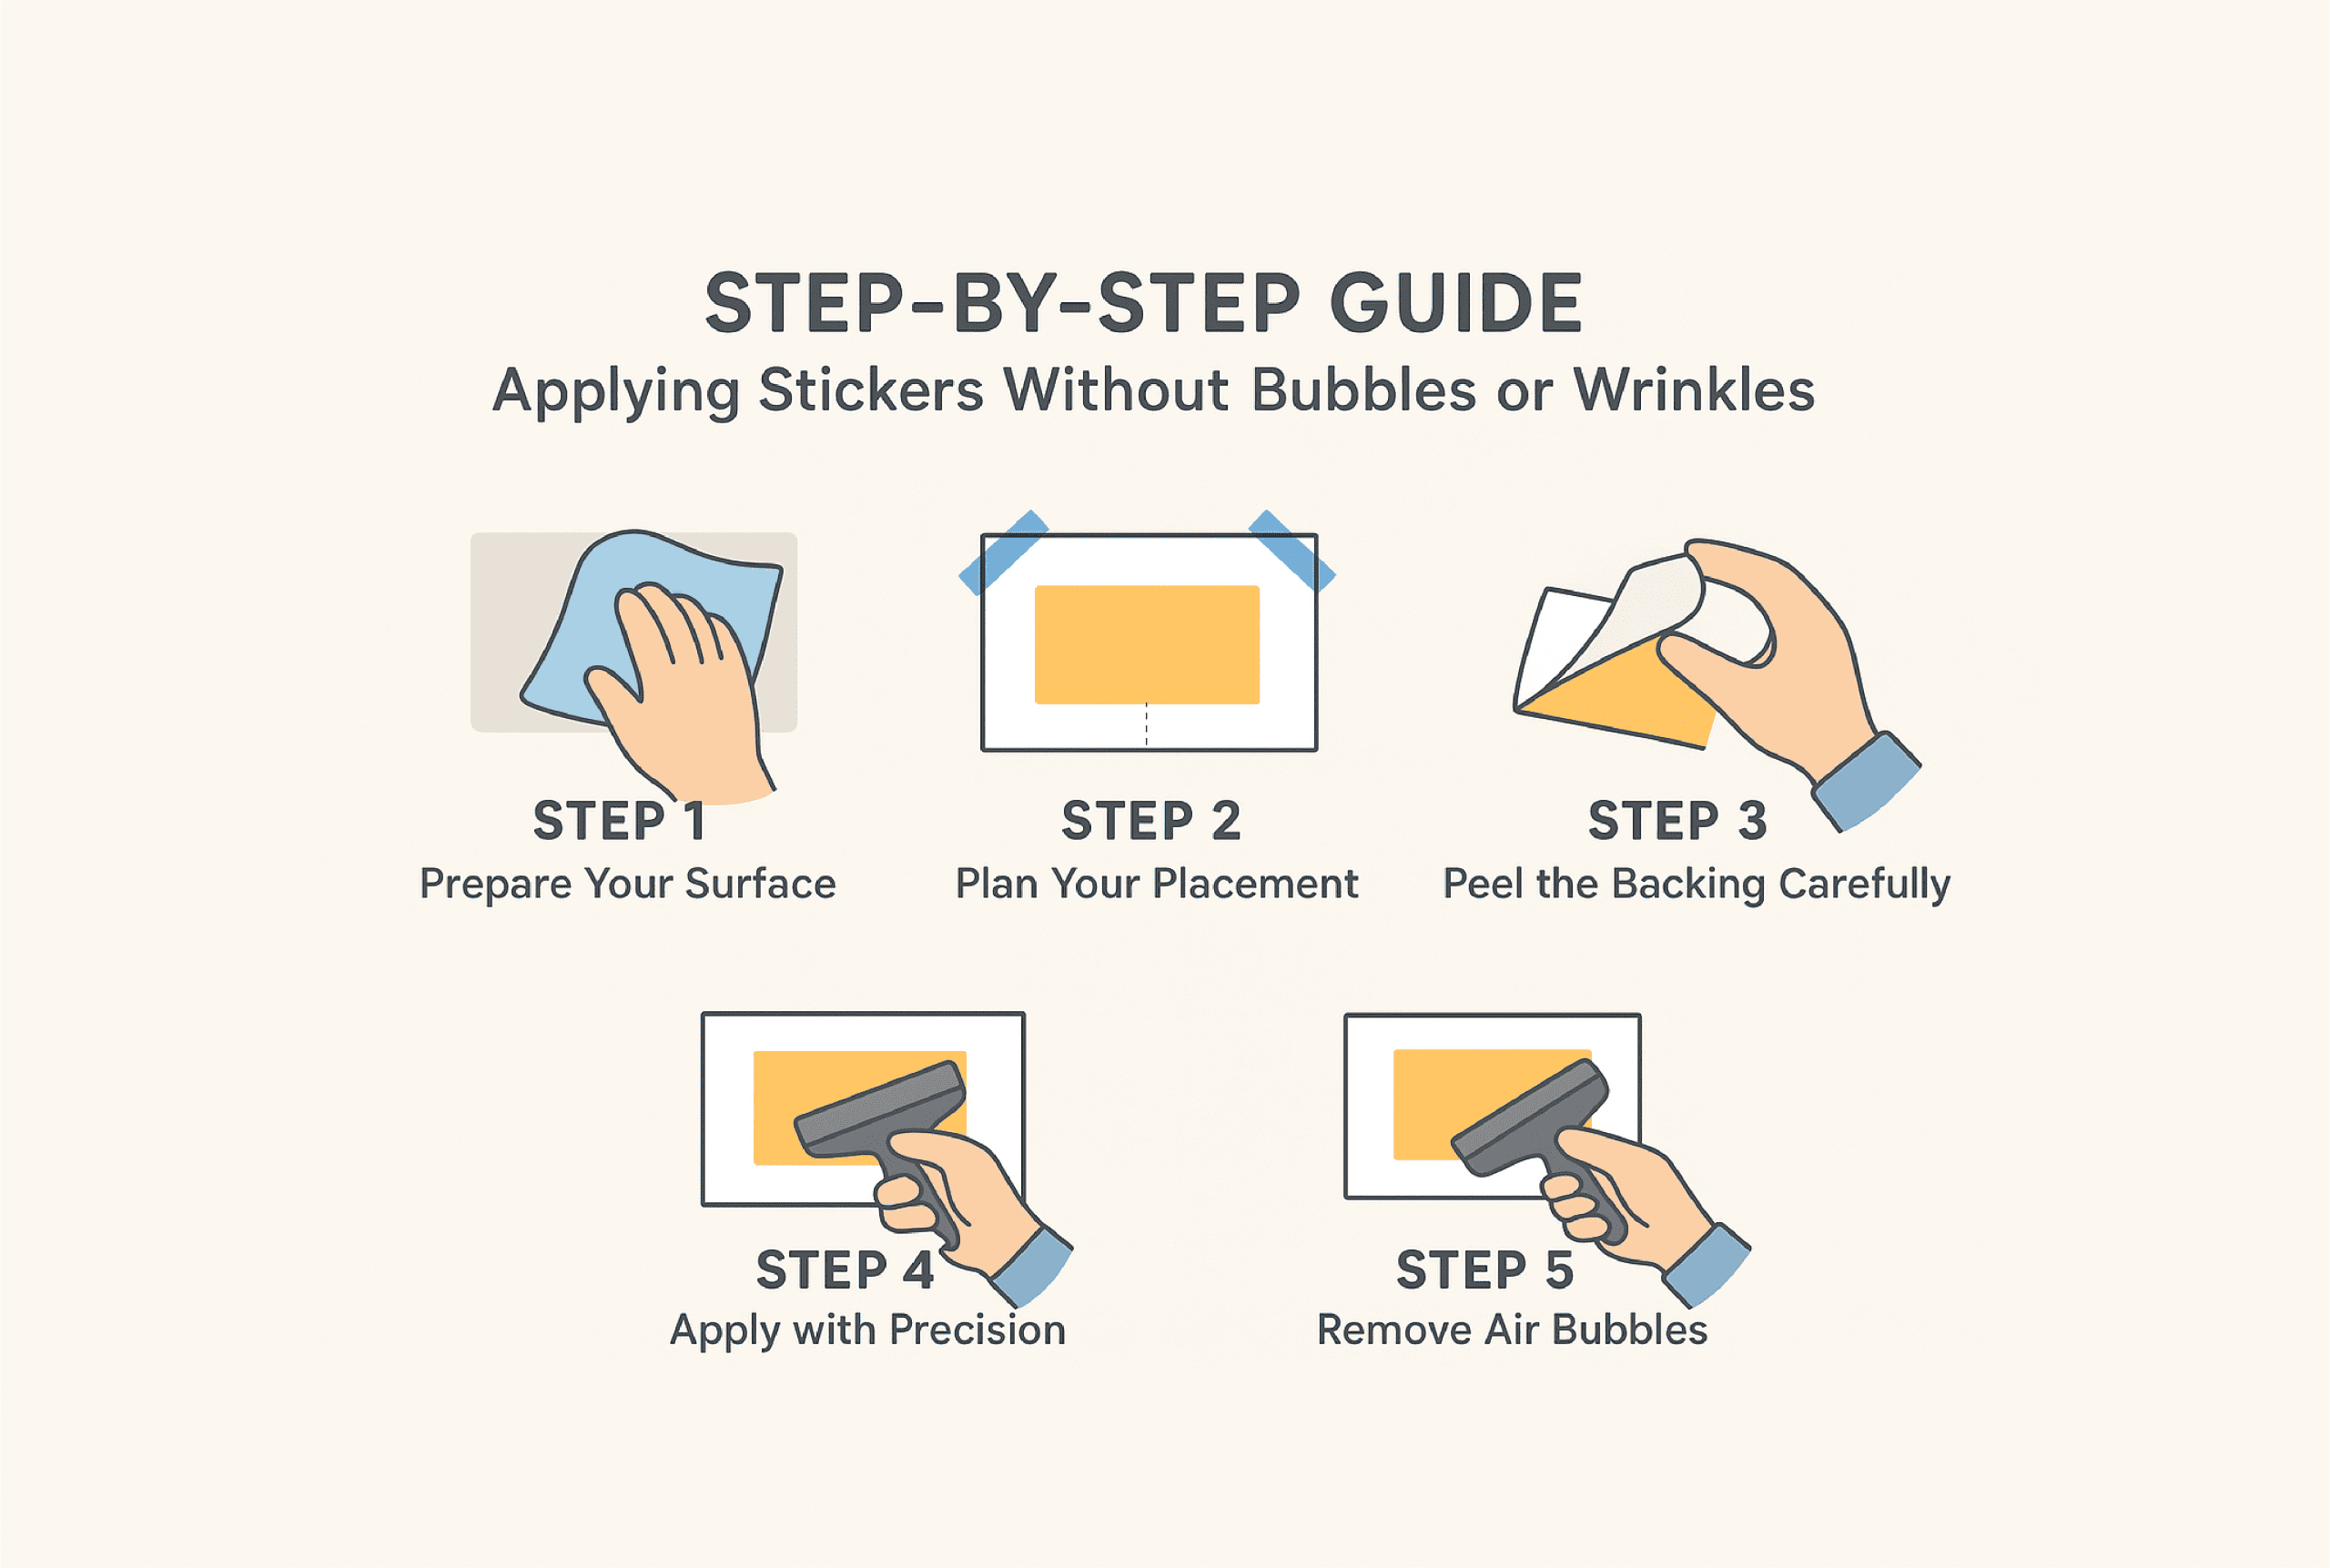
Applying stickers might seem simple, but getting them smooth, professional, and bubble-free can be tricky – especially for larger stickers, labels, or wall graphics. Whether you’re decorating a product, a laptop, a vehicle, or a wall, the right technique ensures your stickers look crisp and polished every time. In this guide, we’ll walk you through the step-by-step process to apply stickers without wrinkles, bubbles, or other common problems.
Why Proper Sticker Application Matters
A sticker applied poorly can detract from your brand or project. Bubbles, wrinkles, and misalignment can make even the most beautiful design look unprofessional. Smooth application ensures:
Long-lasting adhesion – fewer edges peeling up over time
Better visual appeal – clean, crisp appearance
Brand consistency – high-quality presentation on products, packaging, and signage
Step 1: Prepare Your Surface
Before sticking anything down, clean and dry the surface thoroughly:
- Use a soft cloth to remove dust or dirt. Microfiber is ideal.
- Clean with rubbing alcohol or mild soap and water to remove oils or residues.
- Dry completely – even a small amount of moisture or dirt particles can cause bubbles.
- For textured or porous surfaces, consider a primer or special adhesive-friendly solution to ensure proper sticking.
Step 2: Plan Your Placement
Take a moment to visualize exactly where your sticker should go:
- Use a ruler, level, or measuring tape for straight lines.
- Lightly mark the edges with a pencil or painter’s tape as a guide.
- For large wall or floor graphics, consider using masking tape to create a hinge that allows you to position the sticker perfectly before sticking fully.
Step 3: Peel the Backing Carefully
Most stickers have a protective backing. Peel it slowly:
- Start at one edge and lift gradually.
- Avoid touching the adhesive with your fingers too much — oils can affect sticking.
- For large stickers, peel only a small section at a time to maintain control.
Step 4: Apply with Precision
Here’s how to stick it down smoothly:
- Start at one end (top or side).
- Press gently along the edge to anchor the sticker.
- Slowly smooth the sticker down using a squeegee, credit card, or soft cloth.
- Work from the center outward to push air bubbles to the edges.
- For very large stickers, peel a few inches of backing at a time and gradually work your way down.
Step 5: Remove Air Bubbles
Even with careful application, tiny bubbles may appear:
- Use a pin or needle to gently puncture the bubble, then smooth it out with a squeegee.
- For minor bubbles, pressing firmly with a credit card at a 45° angle usually works.
- Avoid rubbing aggressively – this can stretch or damage the sticker.
Step 6: Finish and Secure
- Check the edges — make sure they are fully pressed down.
- For wall or floor graphics, apply extra pressure along seams for durability.
- Allow adhesive to cure for a few hours before exposing it to water or heavy use.
Bonus Tips for Perfect Sticker Application
- Room temperature matters – stickers stick better in moderate temperatures.
- Wet application method – for large vinyl stickers, lightly mist the surface with water and soap, apply the sticker, then squeegee out the water for perfect alignment.
- Store stickers properly – keep them flat and away from heat or sunlight before application.
- Practice on a small piece first – especially for beginners, this helps build confidence.
Applying stickers without bubbles or wrinkles is all about preparation, patience, and technique. By following these steps, you can ensure your stickers — whether small product labels or large wall graphics — look professional, clean, and long-lasting.
With the right method, even first-timers can achieve a smooth, polished finish that enhances your brand or personal project.


